I say this will take two minutes because that's how long it took me. Not even kidding. Timed it. The only reason it took me 10 minutes to get this post up is because I stopped to eat a cookie.
Don't judge.
So I'm going to be straight with you here. I'm not the girliest of the girly girls. Shocker. Though I do like pink, lacy things, lip gloss, and dresses...I sit here writing this in blue jeans, a black sweater, wool socks, no makeup and a Marilla Cuthbert bun. Sigh.
Maybe I should add "femininity" to my New Year goals...it's not too late is it?

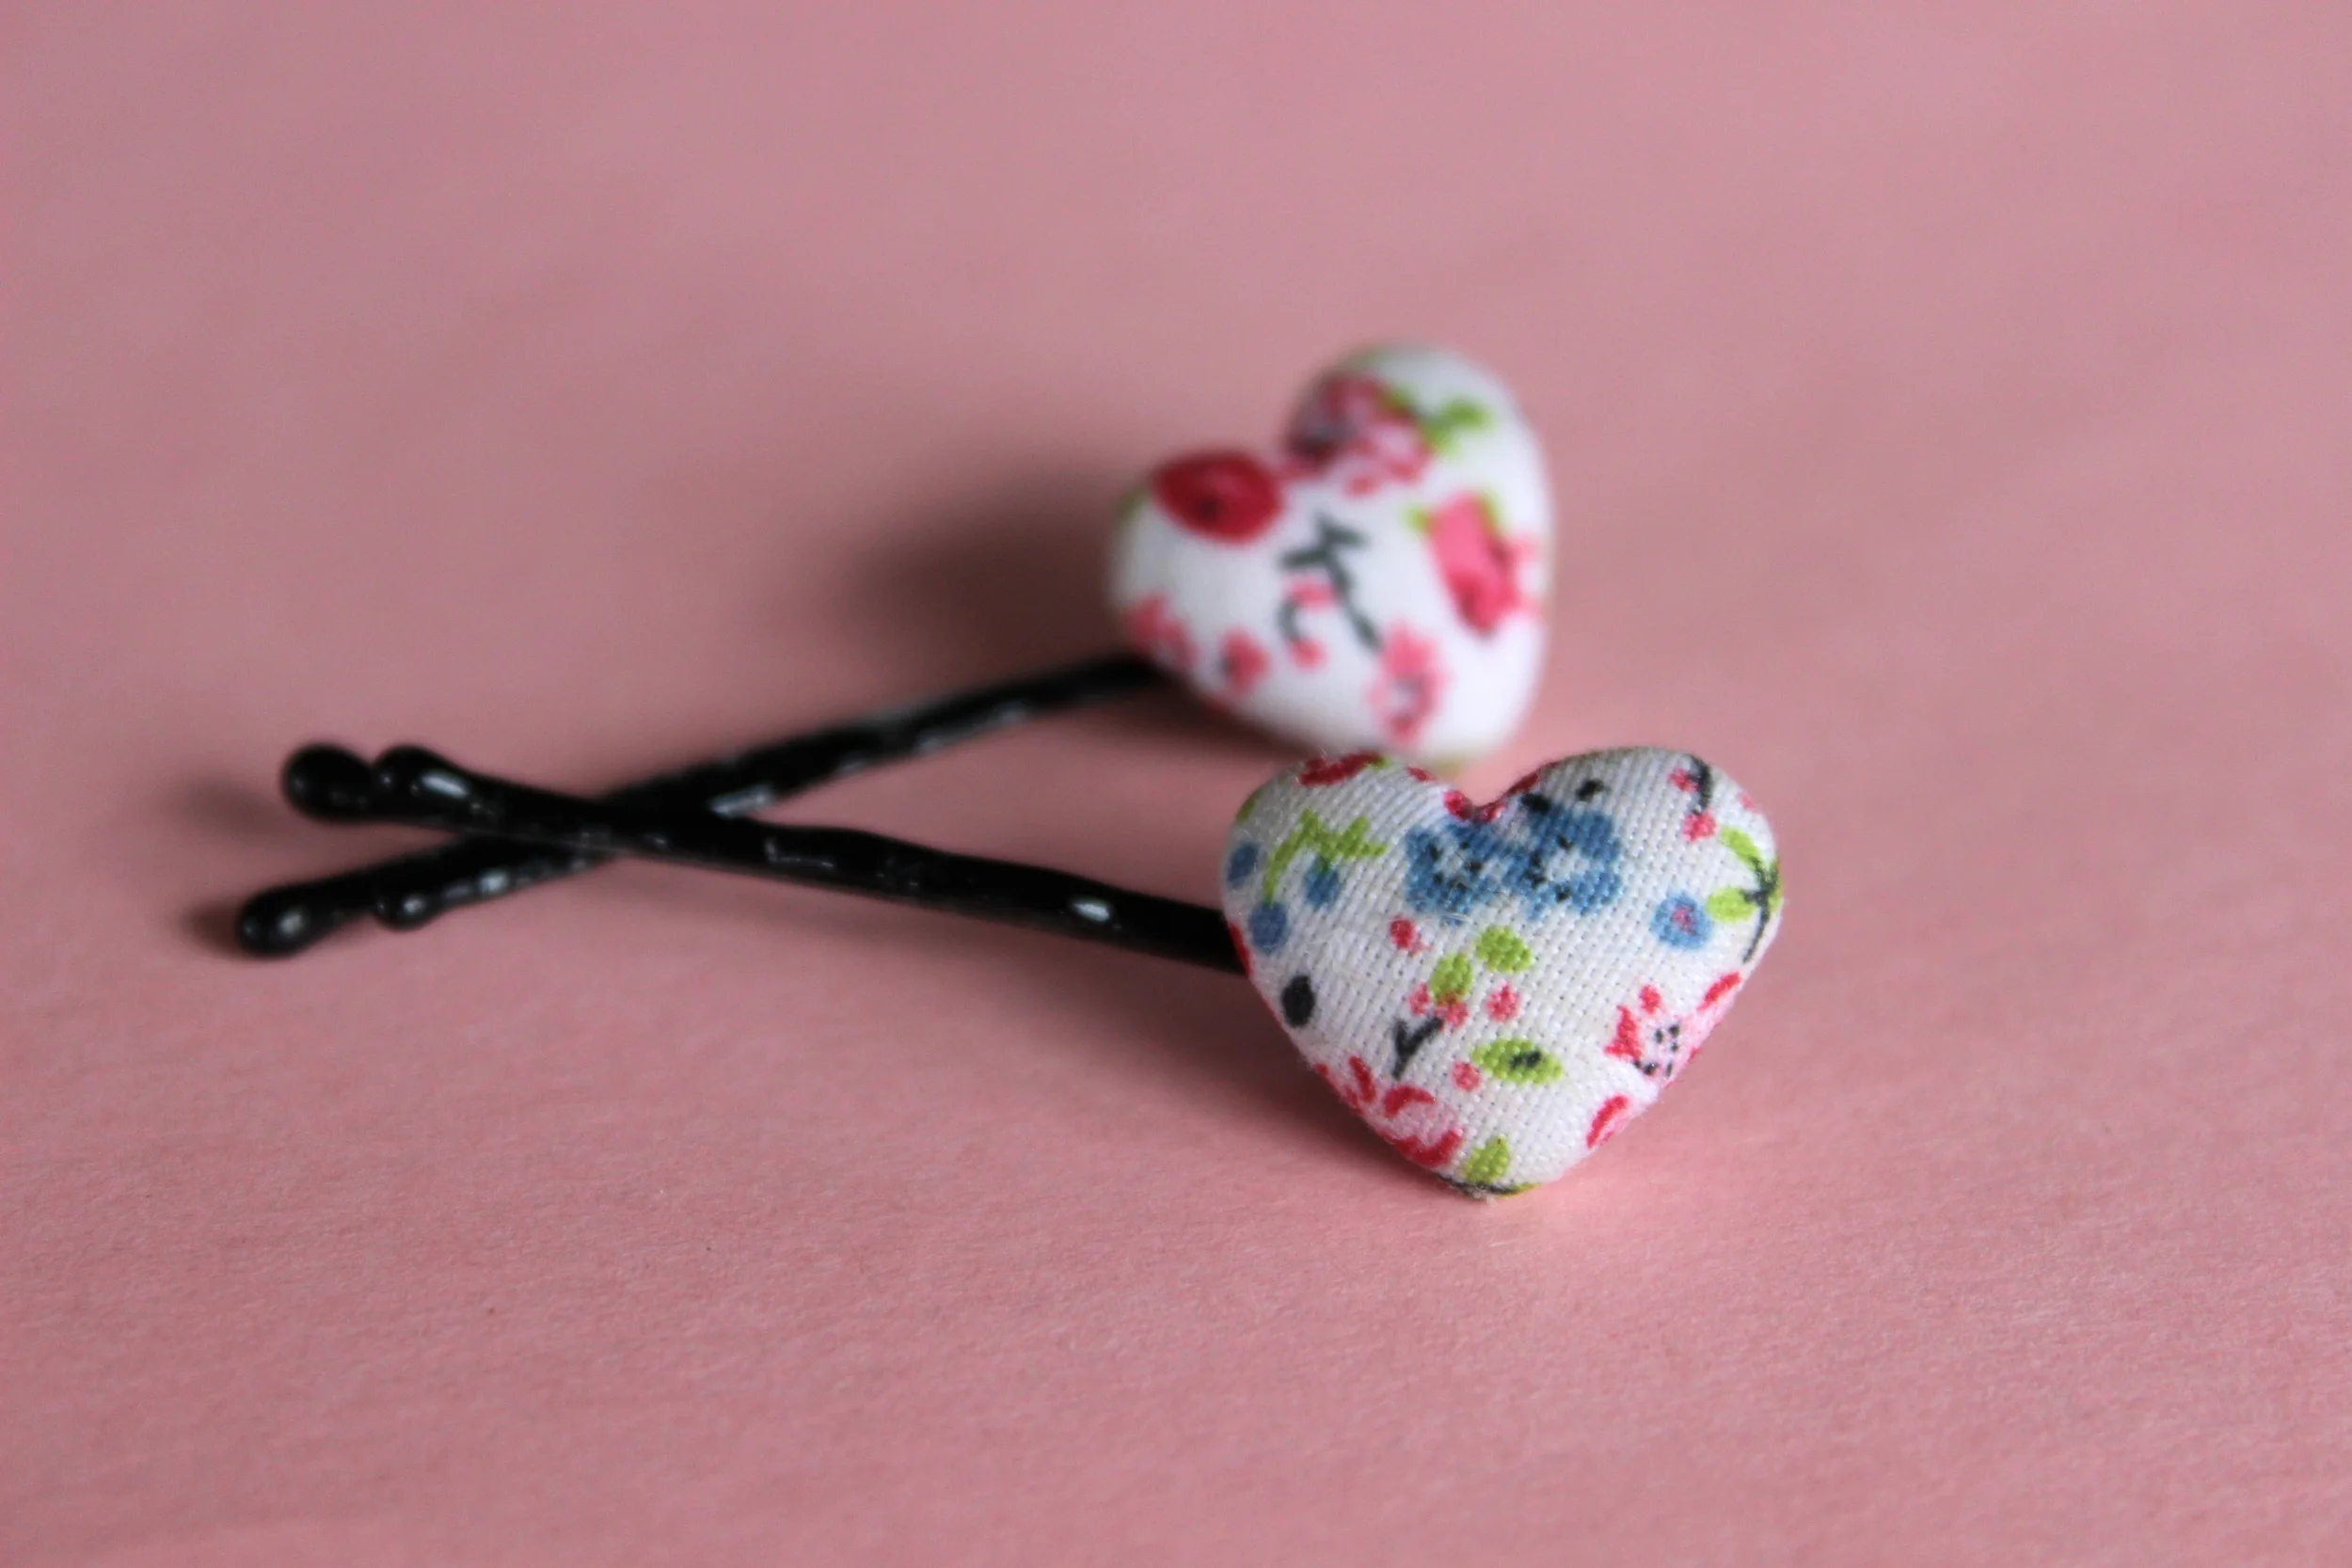
Alright, well before Christmas I ordered a green dress on sale from ModCloth to wear for Christmas Eve dinner because I was not in a position to make one...and $15 for a brand new dress was not the hill I wanted to die on. When the box arrived with the dress, there was a little package of these ADORABLE bobby pins with covered buttons. So cute. Great marketing scheme Modcloth.
They are awesome. A plain Jane pony becomes quite a bit cuter with a little flowered heart holding back some bangs...or a whisp that escaped.
"How hard can that be?" I asked myself during a reflective moment.
Down the stairs I dashed to the button box {yes I have a button box full of randoms...that part wasn't minimized yet...remember what I said about judging}
Button Bobby DIY
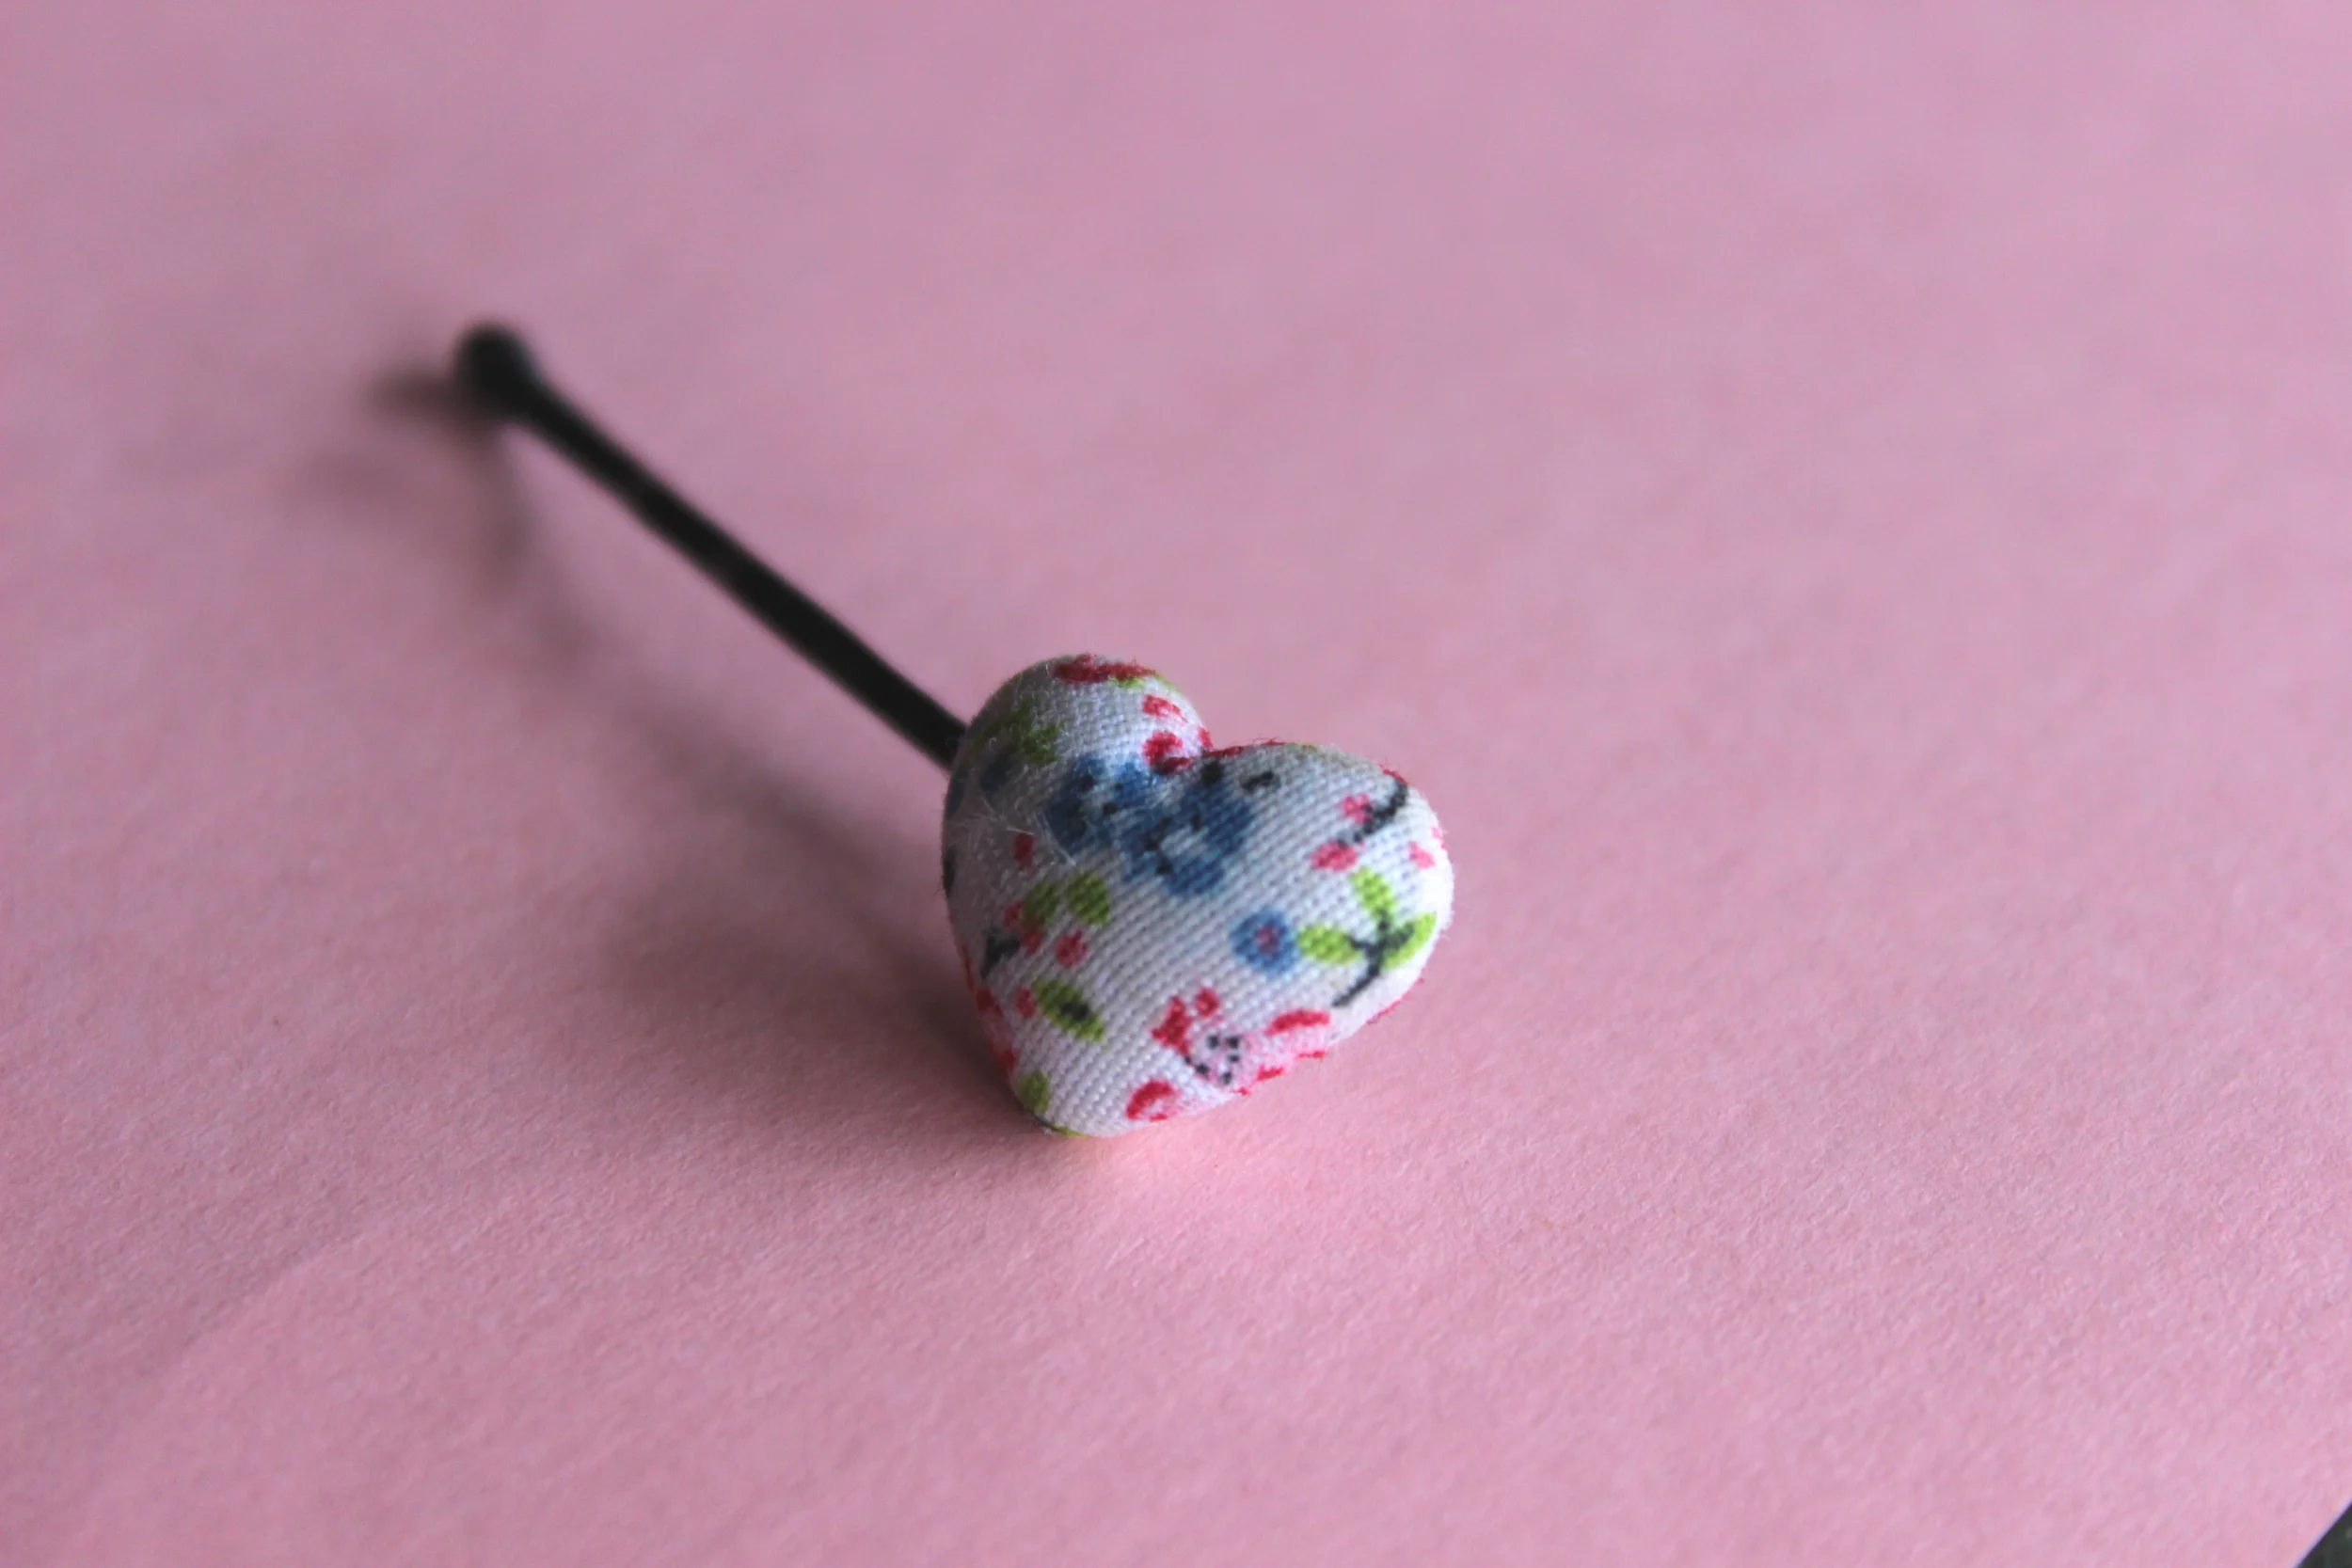
1} I fished out a button with a loop back...not the kind with holes in the face.
2} Grabbed a bobby pin and threaded the button on
3} Glued the little guy in place...held firm until dry {wire would work here too if it's in your craft stash}
4} Wear it out on the town...or doing dishes. It doesn't matter.
PS TIP
Use covered button kits and bits of fabric to make a Button Bobby that matches an outfit. Ta-da!
Also, these would make great gifts.